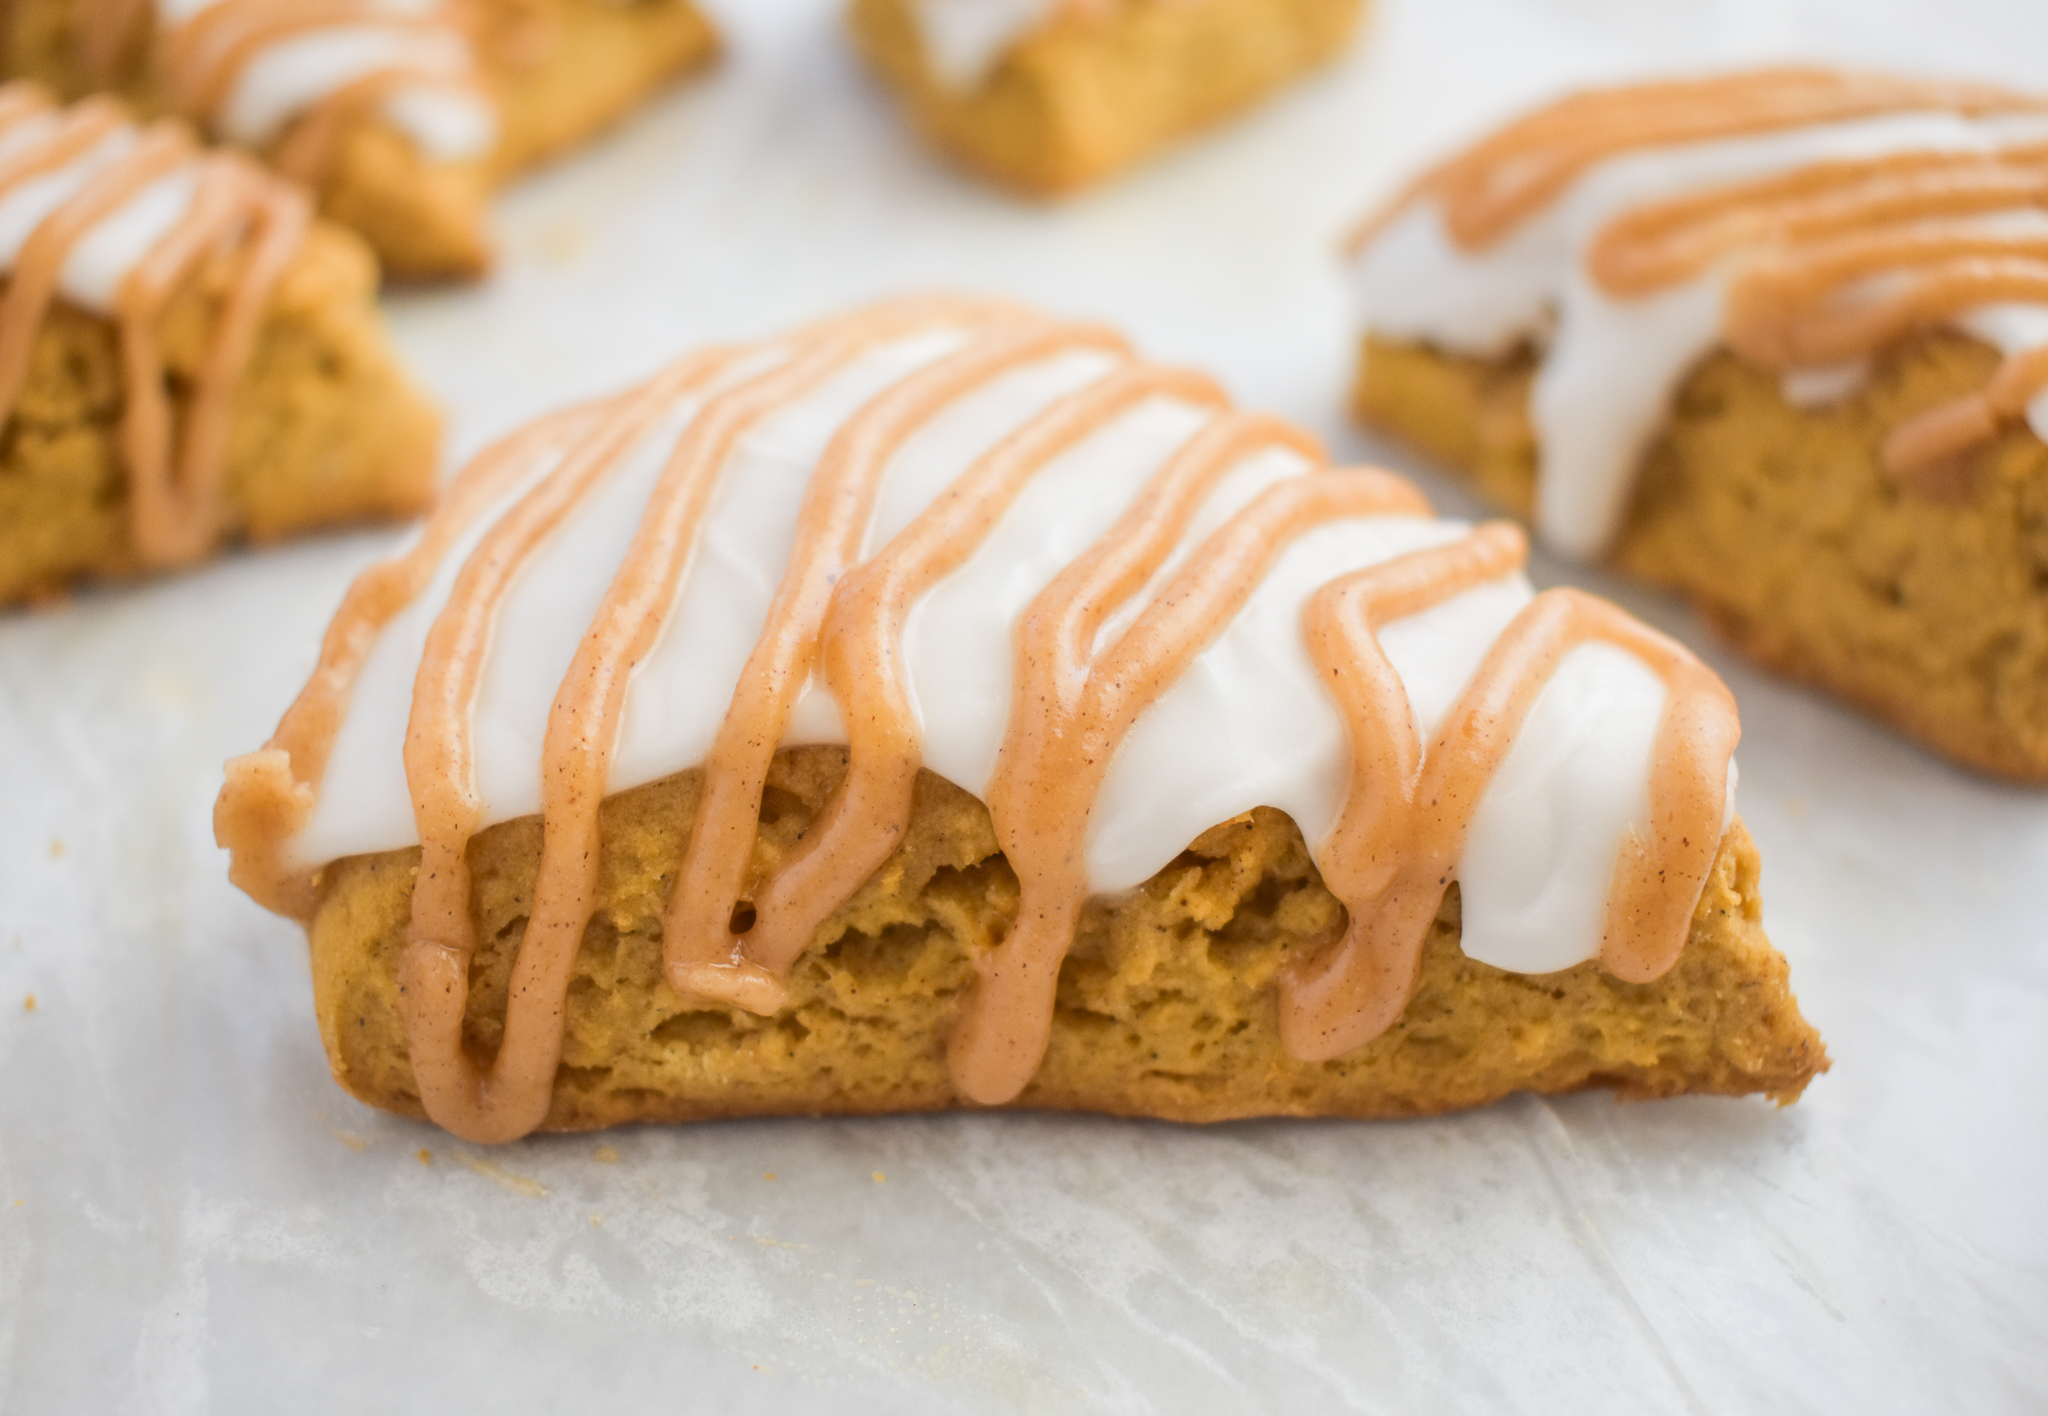
A Taste of Autumn: The Perfect Pumpkin Scones
Pumpkin scones are a delightful paradox simultaneously light and fluffy, yet rich with the subtle, earthy sweetness of pumpkin. They embody comfort, evoking images of cozy kitchens, steaming cups of tea, and the warm, inviting flavours of autumn. More than just a scone with a hint of vegetable, they offer a unique texture and a beautiful golden hue that sets them apart from their plain counterparts.
This recipe aims to guide you through creating pumpkin scones that are not just good, but truly exceptional: tall, tender, and bursting with a delicate pumpkin flavour, ready to be slathered with butter, jam, or a dollop of whipped cream.
The Magic of Pumpkin in Scones
Pumpkin, in its puréed form, brings several advantages to scone making:
- Moisture: Pumpkin purée adds significant moisture, which helps keep the scones tender and prevents them from drying out during baking.
- Colour: It imparts a beautiful, natural golden-orange colour, making the scones visually appealing.
- Flavour: While subtle, the pumpkin adds a gentle sweetness and an earthy depth that complements traditional scone flavours, especially when paired with warming spices.
- Texture: The purée contributes to a softer, more delicate crumb compared to plain flour-based scones.
Key Ingredients for Superior Pumpkin Scones
To achieve the perfect pumpkin scone, quality ingredients are paramount. Here’s a breakdown of what you’ll need and why:
- Self-Raising Flour: This is the cornerstone of light and fluffy scones. The leavening agents (baking powder and sometimes a little bicarbonate of soda) are already perfectly pre-mixed, ensuring an even rise. If you only have plain flour, you can convert it by adding 2 teaspoons of baking powder per cup of plain flour.
- Cold Butter: Crucial for flaky scones. Cold butter creates pockets of steam as it melts in the oven, which helps the scones rise and develop their signature layers. Unsalted butter is preferred so you can control the salt content.
- Caster Sugar: Just a touch of sugar enhances the sweetness of the pumpkin and contributes to browning. Too much sugar can make scones dense.
- Ground Cinnamon & Nutmeg (Optional but Recommended): These warming spices complement the pumpkin beautifully, enhancing its flavour profile. A pinch of mixed spice or allspice would also work.
- Salt: A small pinch balances the sweetness and brings out the overall flavours.
- Pumpkin Purée: The star ingredient. It’s best to use unseasoned pumpkin purée. You can buy canned pumpkin purée (ensure it’s 100% pumpkin, not pie filling) or make your own by roasting or steaming pumpkin until very tender, then mashing or blending it until smooth. Ensure it’s cooled before using.
- Milk (Cold): Used to bring the dough together. Cold milk helps keep the butter cold, further contributing to flakiness. Full-fat milk often yields richer scones.
- Egg (for egg wash, optional): An egg wash (beaten egg with a splash of milk or water) gives the scones a beautiful golden, shiny top.
The Art of Scone Making: Step-by-Step
Making scones is more about technique than complex steps. Follow these guidelines for success:
Yields: Approximately 8-12 scones Prep time: 20 minutes Cook time: 12-15 minutes
Ingredients:
- 3 cups (approx. 375g) self-raising flour, plus extra for dusting
- 1/4 cup (50g) caster sugar
- 1/2 teaspoon ground cinnamon (optional)
- 1/4 teaspoon ground nutmeg (optional)
- 1/2 teaspoon salt
- 1/2 cup (115g) unsalted butter, very cold and cut into small cubes
- 3/4 cup (180g) pumpkin purée, cooled
- 1/4 cup (60ml) cold milk, plus extra for brushing (or 1 beaten egg for egg wash)
Equipment:
- Large mixing bowl
- Pastry blender, two knives, or your fingertips
- Rolling pin
- Round scone cutter (approx. 2-2.5 inch / 5-6 cm diameter)
- Baking tray lined with baking paper
- Pastry brush (optional, for egg wash)
Instructions:
- Preheat Oven & Prepare Tray: Preheat your oven to a hot 200°C (400°F) conventional or 180°C (350°F) fan-forced. Line a baking tray with baking paper.
- Combine Dry Ingredients: In a large mixing bowl, whisk together the self-raising flour, caster sugar, cinnamon, nutmeg, and salt. Make sure there are no lumps.
- Incorporate the Butter: Add the very cold, cubed butter to the dry ingredients. Using a pastry blender, two knives, or your fingertips, work the butter into the flour mixture until it resembles coarse breadcrumbs with some pea-sized pieces of butter still visible. The key here is to work quickly to prevent the butter from melting. Your hands are warm, so avoid overworking the dough.
- Add Pumpkin Purée: Make a well in the centre of the flour and butter mixture. Add the cooled pumpkin purée.
- Add Milk: Gradually add the cold milk, a little at a time, mixing with a butter knife or your hand until the dough just comes together. Be careful not to add too much milk; the dough should be soft and slightly sticky but manageable. Over-mixing at this stage will develop the gluten, leading to tough scones. Stop mixing as soon as the flour is incorporated.
- Light Kneading & Shaping: Turn the dough out onto a lightly floured surface. Gently bring the dough together and very lightly knead it a few times (no more than 5-6 gentle pushes) until it just forms a cohesive ball. Pat or very gently roll the dough to about 1-inch (2.5 cm) thickness.
- Cut the Scones: Dip your scone cutter in flour before each cut to prevent sticking. Press the cutter straight down into the dough – do not twist. Twisting can seal the edges, preventing the scones from rising properly. Place the cut scones onto the prepared baking tray, leaving a little space between them. Gather the scraps gently, press them together (without re-kneading), and cut out any remaining scones.
- Egg Wash (Optional): If desired, lightly brush the tops of the scones with a little milk or the beaten egg wash. This will give them a lovely golden finish. Avoid letting the wash drip down the sides, as it can hinder the rise.
- Bake: Bake for 12-15 minutes, or until the scones are well-risen, golden brown on top, and sound hollow when tapped on the bottom. The exact baking time will depend on your oven and the size of your scones.
- Cool & Serve: Transfer the baked scones to a wire rack to cool slightly. Scones are best served warm, ideally within an hour or two of baking.
Serving Suggestions
Pumpkin scones are wonderfully versatile. Enjoy them traditionally:
- Clotted Cream and Jam: A classic pairing, often with a good raspberry or strawberry jam.
- Butter: Simply with a generous spread of good quality butter.
- Whipped Cream: A dollop of lightly sweetened whipped cream.
- Cream Cheese Frosting: For a more decadent treat, a light cream cheese frosting can complement the pumpkin flavour.
- Honey or Maple Syrup: A drizzle can enhance the natural sweetness.
Embrace the comforting aroma that will fill your kitchen as these golden beauties bake. With this guide, you’re well on your way to mastering the art of the perfect pumpkin scone – a delightful treat for any time of day, but especially wonderful as the seasons turn cooler.